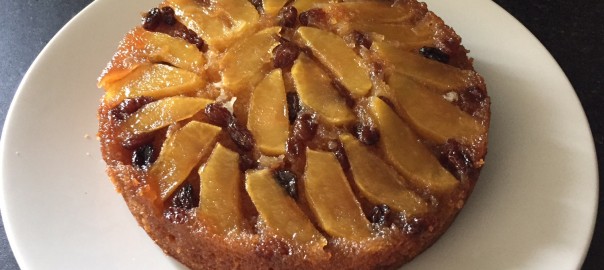
Category Archives: Cakes

Lemon Drizzle Cake

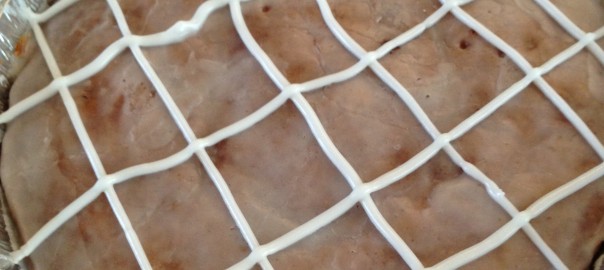
Chef’s tip: To add something special, mix some icing sugar with lemon juice, grate in a small amount of lemon zest and decorate the top of the cake with lines/squiggles.

Ingredients for the cake

  • 225g unsalted butter
  • 225g caster sugar
  • 4 eggs
  • Grated zest of 1 lemon
  • 225g self-raising flour

Ingredients for the drizzle

  • Juice of 1.5 lemons
  • 85g caster sugar

Method

  • Preheat oven to 180C (160C fan, gas mark 4)
  • Beat the butter and sugar together
  • Mix in the eggs one at a time
  • Mix in the flour and then the lemon zest
  • Bake for 45-50mins
  • Mix together the drizzle, poke some holes in the top of the cake and drizzle the drizzle in a drizzly way to cover the whole cake. It will go nice and sugary/crunchy on top.


Raspberry Ripple Cake

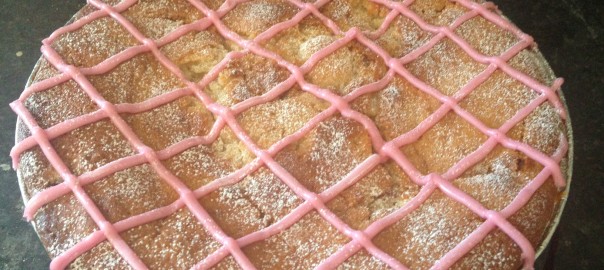
Chef’s Tip: Mix the leftover raspberry juice with icing sugar to make a drizzle that you can pour on top or use to decorate with squiggly lines.

Ingredients

  • 300g frozen raspberries
  • 250g plain flour
  • 2 teaspoons baking powder
  • 1/4 teaspoon salt
  • 125g unsalted butter, softened
  • 225g caster sugar
  • 3 eggs, lightly beaten
  • 250g sour cream (a regular 300ml pot will get you this, just make sure you pour 250g into a bowl)

Method

  • Preheat the oven to 180C (160 Fan/350F/Gas Mark 4)
  • Grease and line a 23cm tin.
  • Put the raspberries into a bowl and lightly crush them with a masher – try to release as much juice as possible so it’s worth getting them out early.
  • Mix the flour, baking powder and salt in a large bowl.
  • In a separate bowl, cream the sugar and butter until pale and fluffy, then add the eggs and whisk.
  • Mix in 2 spoons of the dry ingredients.
  • Mix in 2 spoons of the sour cream
  • Alternate dry and sour cream until it’s all in and mixed up.
  • Spoon approximately a third of the batter into the bottom of your tin, then spoon over half the raspberries.
  • Repeat with another third of the batter, then the remaining raspberries, and top with the rest of the batter.
  • Don’t worry if the batter and raspberries mix a bit when you’re spreading it all out.
  • Bake for 45-50mins (check how it’s going after 30mins) or until a skewer comes out clean.


No-Bake Chocolate Strawberry Tart with an Oreo Base

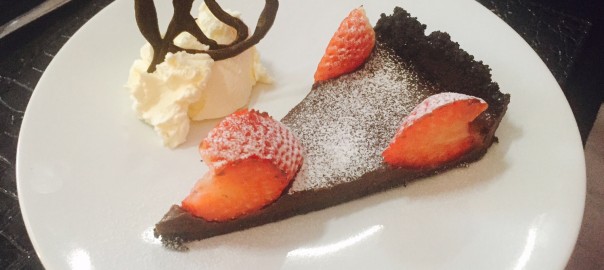
Chef’s tip: Serve with ice cream or clotted cream. If you’re feeling fancy, you could melt some extra chocolate and drizzle it on baking paper to make pretty patterns. Once it’s dry, you can use these as toppers to the cake.

Original recipe video can be found here so you can follow along: https://www.youtube.com/watch?v=C4fbOGxiFDc

Ingredients (makes 10-12 slices, or halve the ingredients to make 6 slices)

  • 32 (330g) Oreo cookies, whole
  • 110g butter, melted
  • 7 oz/200g milk chocolate
  • 3.5 oz/100g plain/dark chocolate (I use 85%)
  • 200 ml heavy cream
  • 300g fresh strawberries
  • OPTIONAL: chopped nuts

Method

  • Place Oreo cookies (with filling) into a food processor and blend until it turns to crumbs.
  • Pour the melted butter into the crushed Oreos. Process until evenly moistened, or you could mix them with a spoon if you haven’t used a blender.
  • Press cookie mixture with the back of the spoon and your fingers where necessary, into the bottom and edges of a rectangular 5×14 inch (12 x 36 cm) tart pan.
  • Really press it in and up the sides to make a nice edge.
  • Freeze the base while you prepare the filling, just for few minutes.
  • Prepare your strawberries by removing the greenery.
  • Pour the cream into a saucepan and heat on medium-low for a few minutes. No boiling or simmering needed. This doesn’t take very long so keep an eye on it!
  • Remove the cream from the heat and add the chocolate. Stir until it has all melted and is smooth. 
  • Pour the chocolate filling into the Oreo crust and make sure it’s level, then get your strawberries and press them gently into the chocolate so that they are half submerged.
  • If you imagine the slices you’ll cut, you can arrange the strawberries alternately in the large part of the slice.
  • Refrigerate for at least 2 hours before serving.
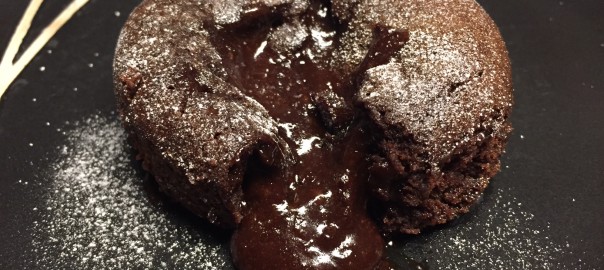
Moist Chocolate Fudge Cake

Ingredients

  • 225g/8oz plain flour
  • 350g/12½oz caster sugar
  • 85g/3oz cocoa powder
  • 1½ tsp baking powder
  • 1½ tsp bicarbonate of soda
  • 1 tsp instant coffee
  • 2 free-range eggs
  • 250ml/9fl oz milk
  • 125ml/4½fl oz vegetable oil
  • 2 tsp vanilla extract
  • 200ml/9fl oz boiling water
  • 1x dark chocolate ganache

Method

  • Preheat the oven to 180C/160C Fan/Gas 4. Grease and line two 20cm/8in sandwich tins. If you only have springform tins, make sure you line the bases with a double layer of baking paper which is too big so comes out the sides. The mixture is very liquidy so will spill out otherwise.
  • Place all of the cake ingredients, except the boiling water, into a large mixing bowl. Using a wooden spoon, or electric whisk, beat the mixture until smooth and well combined.
  • Add the boiling water to the mixture, a little at a time, until smooth. (The cake mixture will now be very liquid.)
  • Divide the cake batter between the sandwich tins and bake in the oven for 30-40 minutes, or until the top is firm to the touch and a skewer inserted into the centre of the cake comes out clean.
  • While the cakes are in the oven, make your ganache so that it can sit and cool alongside the cakes.
  • Remove the cakes from the oven and allow to cool completely, still in their tins, before icing.
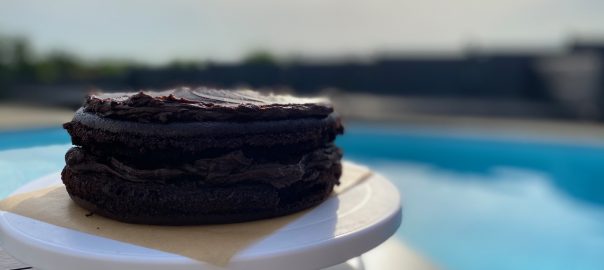
  • Spread a thin layer of the frosting on top of one cake and sandwich the other one on top.
  • Transfer to a plate or a board and top the cake with the remaining ganache.

Upside Down Toffee Apple Cake

I use a 23cm round tin for this but you could squeeze it into 20cm. It makes enough cake for about 8 people. You can easily make a half batch if you need a smaller version.

Ingredients

For the topping:

  • 3 gala or granny smith apples
  • 200g caster sugar
  • 3tbsp water

For the cake:

  • 225g/8oz salted butter, softened
  • 225g/8oz golden caster sugar
  • 225g/8oz self-raising flour
  • ½ tsp bicarbonate of soda
  • 4 free-range eggs, at room temperature
  • 60ml/4 tbsp whole milk
  • ½ tsp vanilla extract

Method

  • Grease your tin with butter and preheat the oven to 180C/160C Fan/Gas 4.
  • Peel, core and slice your apples. Keep them in a bowl of cold water to stop them from browning.
  • I like to mix up the cake batter at this point. So, beat the butter and sugar until smooth.
  • Combine the flour and bicarbonate of soda in a bowl, and add it spoonfuls at a time with one egg at a time.
  • Mix each time until all 4 eggs are in and all the flour is gone.
  • Stir in the milk and vanilla.
  • Leave this to one side.
  • Put your 200g sugar and 3tbsp of water in a saucepan and get it on a medium to high heat. Let the sugar melt and watch it bubble until it turns a nice amber/golden colour. DO NOT STIR IT AT ANY POINT. If you’ve used golden caster sugar, you are looking for a slightly darker colour.
  • Place the apples in  pretty pattern in the bottom of your tin and pour the caramel mixture over them. You will need to do this quite quickly as it will start to solidify soon after it’s taken off the heat. Be very careful because it will be dangerously hot.
  • Now pour the cake mixture over the top and smooth it out.
  • Bake for 40-50mins, checking occasionally with a toothpick until it comes out dry and clean from the centre of the cake.
  • Take it out the oven once it’s done. Using oven gloves, place a cooling rack or a plate over the tin and quickly flip over, taking care not to burn yourself on any hot caramel that may leak from the tin. Remove from the tin and set aside to cool.